Advanced workshop
Architecting Angular Apps for High Performance
High-Speed Angular applications on any device
Learn more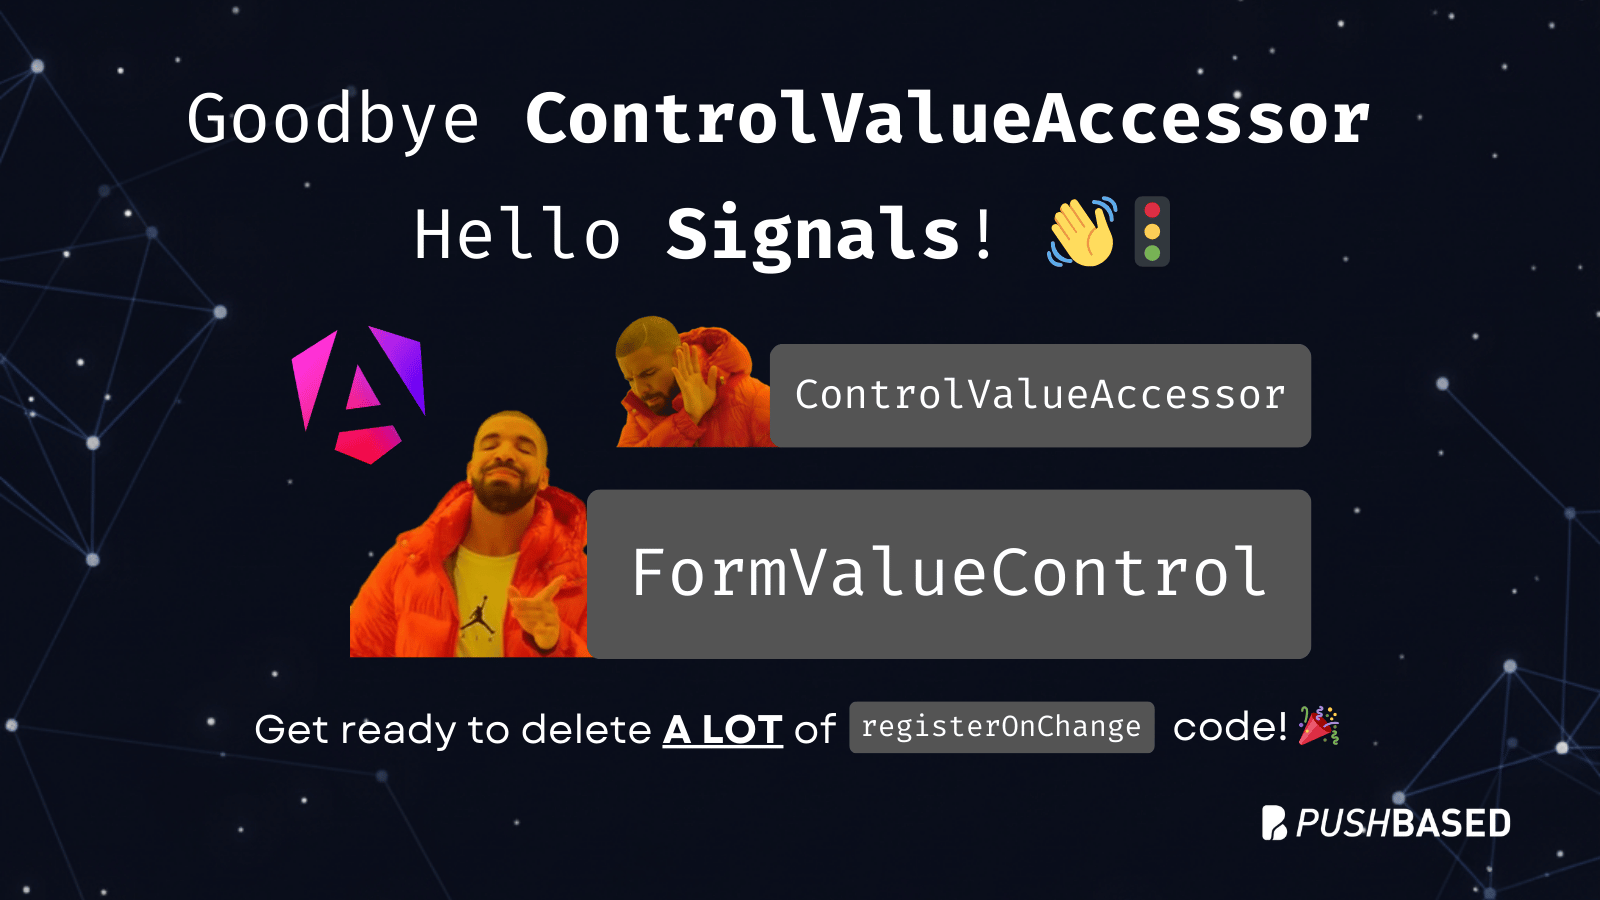
If you’ve been building custom form controls in Angular for a while, you know what to expect. You want to wrap a simple <input>ControlValueAccessor
You have to implement writeValueregisterOnChangeregisterOnTouchedsetDisabledState
Currently a custom input component with CVA looks something like this:
import { Component, forwardRef, input } from '@angular/core';
import { ControlValueAccessor, NG_VALUE_ACCESSOR } from '@angular/forms';
@Component({
selector: 'app-custom-input',
template: `
@if (label()) {
}
`,
providers: [
{
provide: NG_VALUE_ACCESSOR,
useExisting: forwardRef(() => CustomInputComponent),
multi: true
}
]
})
export class CustomInputComponent implements ControlValueAccessor {
readonly label = input('');
readonly type = input('text');
// Internal state
value: string = '';
isDisabled: boolean = false;
// Placeholder functions for Angular's callbacks
onChange = (value: string) => {};
onTouched = () => {};
// --- ControlValueAccessor Implementation ---
// 1. Called by Angular to write a value to the component (Model -> View)
writeValue(value: string): void {
this.value = value || '';
}
// 2. Registers the callback Angular provides to listen for changes (View -> Model)
registerOnChange(fn: any): void {
this.onChange = fn;
}
// 3. Registers the callback Angular provides to know when the control was interacted with
registerOnTouched(fn: any): void {
this.onTouched = fn;
}
// 4. (Optional) Called by Angular when the form control is disabled/enabled
setDisabledState(isDisabled: boolean): void {
this.isDisabled = isDisabled;
}
// --- UI Event Handlers ---
onInput(event: Event): void {
const target = event.target as HTMLInputElement;
this.value = target.value;
// Notify Angular that the value changed
this.onChange(this.value);
}
onBlur(): void {
// Notify Angular that the input lost focus (marks the control as 'touched')
this.onTouched();
}
}
That is about to change.
With Pull Request #67267, Angular is bridging the gap between the new Signal-Forms architecture and the Template/Reactive Forms. This isn't just a minor update—it’s a fundamental shift in how we author custom form controls.
FormValueControlImagine creating a custom input where the "form logic" is just… a Signal.
Thanks to this new PR, Angular now supports Signal-Based FormValueControl components via the FormValueControlvaluengModelFormControl
Here is the "Before" (CVA) vs. "After" (Signals):
(Trigger warning: Boilerplate)
@Component({ ... })
export class OldInputComponent implements ControlValueAccessor {
  value: string = '';
  onChange = (val: string) => {};
  onTouched = () => {};

  writeValue(value: string): void {
    this.value = value;
  }
  registerOnChange(fn: any): void {
    this.onChange = fn;
  }
  registerOnTouched(fn: any): void {
    this.onTouched = fn;
  }
  // ... and don't forget the providers array!
}
(Look at how clean this is!)
@Component({
selector: 'fancy-input',
template: `
`,
})
export class FancyInput implements FormValueControl
You won't have to register callbacks and manually fire onChangemodel()
This isn't a "new forms module" that requires you to rewrite your entire app. This PR adds support for these signal-based controls inside existing Template and Reactive Forms. You can start building new controls this way today and drop them right into your existing [formGroup]
It’s not just about the value. This update ensures that validation status, "touched" state, and "dirty" state are all synchronized.
class MyFancyInput implements FormValueControl
This change is a massive win for Developer Experience (DX). It lowers the barrier to entry for creating reusable form components and fully embraces Angular's Signal era.
Get ready to delete a lot of registerOnChange
Advanced workshop
High-Speed Angular applications on any device
Learn more
Accessibility doesn’t have to be hard. Follow a comic-style, hands-on journey building an accessible day selector with Angular Aria, learning comboboxes, listboxes, and real screen reader behavior along the way.


If Signals were Angular’s “aha!” moment, Zoneless is the “oh wow—this feels snappy” moment. With Angular v21, new apps use zoneless change detection by default. No more zone.js magic under the hood—just explicit, predictable reactivity powered by Signals.

Implement incremental hydration in a real-world Angular app - Basic setup, hydration triggers and important considerations for a seamless integration.

Let's dive deeper into why incremental hydration in Angular matters so much for performance and user experience, focusing on its influence on Largest Contentful Paint (LCP), Interaction to Next Paint (INP), and Cumulative Layout Shift (CLS).
Incremental hydration is a groundbreaking new feature in Angular that heavily impacts critical performance metrics like INP and LCP, while also reducing the effort required to maintain CLS at low levels.

PushBased's 2024 recap: 43 talks, NgGlühwein conference, RxAngular updates, and more. A year of growth, innovation, and community! Read our journey. 🚀