

Intermediate workshop
Modern Angular
Master the latest Angular features to build modern applications. Learn how to use standalone components, signals, the new inject method and much more.
Learn more
The RxAngular team & community were quite productive and shipped great new features as well as quality of life improvements with the latest releases.
We are specifically mentioning the community this time, as we are very happy to anounce that some amazing community contributions made it to this release.
In this blog post, we'll dive into some specifics of RxAngular itself and it's recently added new features, including the native support for signals across its core directives: rxIfrxLetrxForrxVirtualFor
Intermediate workshop
Master the latest Angular features to build modern applications. Learn how to use standalone components, signals, the new inject method and much more.
Learn moreAdvanced workshop
High-Speed Angular applications on any device
Learn moreIf you don't want to go over all the changes in detail, here is a tiny teaser for you with just the changes being introduced with the latest release.
native signal support
rxLet supports Subscribable (*community contribution)
parent flag deprecation
provideRxStateConfig
expose readonly state (*community contribution)
native signal support
new functional creation method
Before going into details about updates about the @rx-angular/template package*ngIf*ngFor*rxIf*rxFor*rxLet
RxAngular directives are optimized for fine-grained reactivity down to the EmbeddedViewRef. This means that only the necessary parts of your template are updated when data changes, leading to better performance.
RxAngular directives allow you to work with context variables and templates in a more intuitive way. This makes it easier to manage complex data structures and logic in your templates.
📣 Conference Talk: Contextual Template States
RxAngular directives support lazy template creation, which can help improve performance by deferring the creation of template elements until they are actually needed.
Users want 60fps and smooth interactions with applications, and RxAngular directives are optimized for this. They ensure that your application remains responsive and performant even when dealing with large amounts of changes by making use of concurrent mode.
📣 Conference Talk: Cut My Task Into Pieces
RxAngular recently introduced seamless integration with Angular signals.
Let's briefly recap what Angular signals are. Signals provide a reactive primitive for managing state within Angular components. They offer a fine-grained and performant way to track changes to values. Thus, angular has an easier time to run change detection only on needed components instead of a sub-tree.
RxAngulars core directives are designed to streamline reactive programming in Angular templates. Now they have been supercharged with signal support. Let's explore how each directive leverages signals to enhance your development workflow:
The rxLet
userData = signal({ name: 'Alice', email: 'alice@example.com' });
  Welcome, {{ user.name }}!
  Your email is: {{ user.email }}
The rxIfrxIf
showContent = signal(true);
This content is displayed conditionally.
Efficiently rendering lists is a common requirement in web applications. The rxForrxForrxFor
items = signal(['apple', 'banana', 'orange']);
When dealing with large lists, virtual scrolling becomes essential for maintaining performance. The rxVirtualForrxVirtualFor
items = signal(['apple', 'banana', 'orange']);
{{ item }}
To start leveraging the power of signals in your RxAngular projects, ensure you have the latest version of RxAngular installed. Then, you can directly use signals with the directives as demonstrated in the examples above.
This was a community contribution, special thanks to Alireza Ebrahimkhani for kickstarting the effort and Adrian Romanski for finishing it off.
Before this version of @rx-angular/templateRxLetObservableInput
On top of the SignalRxLetSubscribable
{{ state }}
import { RxLet } from '@rx-angular/template/let';
@Component({
    imports: [RxLet]
})
export class MyComponent {
    state$ = {
        subscribe: ({ next }) => {
            next(42);

            return {
                unsubscribe: () => {}
            }
        }
    }
}
Before the introduction of Signal queries (viewChildviewChildrencontentChildcontentChildrenrxLetrxFor
This behavior was in most cases just causing overrendering, especially if there were no open queries we had to update.
One could already disable this behavior on a per directive basis via the parentRxRenderStrategiesConfig
// main.ts
import { RX_RENDER_STRATEGIES_CONFIG } from '@rx-angular/cdk/render-strategies';
bootstrapApplication(AppComponent, {
    providers: [
        {
            provide: RX_RENDER_STRATEGIES_CONFIG,
            useValue: {
                parent: false // disable parent flag globally
            }
        }
    ]
})
However, as far as we know, this feature is very little known and not used very often.
When disabling the parent@rx-angular/template
It means that any regular @ViewChild@ViewChildren@ContentChild@ContentChildren
@Component({})
export class QueryComponent {
@ViewChild('state') set stateDiv(div: ElementRef
This is also the reason why the default value for this configuration is true
Thanks to the recent additions to the angular framework itself, we can now safely get rid of this flag.
The new Signal queries will just work without having us to additionally run change detection on any level. We can just insert nodes into the viewContainer
It means that any regular @ViewChild@ViewChildren@ContentChild@ContentChildren
@Component({})
export class QueryComponent {
stateDiv = viewChild
Thanks to the new inject method and other additions introduced by the angular framework, we were able to re-think the approach on how to create instances of RxStateRxStateRxState
See the following example:
import { rxState } from '@rx-angular/state';
@Component()
export class MovieListComponent {
private movieResource = inject(MovieResource);
private state = rxState<{ movies: Movie[] }>(({ set, connect }) => {
// set initial state
set({ movies: [] });
// connect state from resource
connect('movies', this.movieResource.fetchMovies());
});
// select a property for the template to consume as an observable
movies$ = this.state.select('movies');
// OR select a property for the template to consume as a signal
movies = this.state.signal('movies'); // Signal
The instance created by RxStateDestroyRef
Read more about the new functional approach in our migration guide.
We have also introduced native signal support to the RxStateRxStateSignal
import { rxState } from '@rx-angular/state';
import { select } from '@rx-angular/state/selections';
state = rxState<{
movies: Movie[];
search: string;
}>();
// Read a key from state as `Signal`
movieSignal = this.state.signal('movies'); // Signal
Additionally, we've introduced a new overload for connectSignal
state = rxState<{
movies: Movie[];
search: string;
}>(({ connect }) => {
// Signal
You'll find more information about this in the getting started guide.
Users of RxStateRxState
Let's dive into the details.
Configurations for RxStateprovideRxStateConfig
// main.ts

import { bootstrapApplication } from '@angular/platform-browser';
import { AppComponent } from './app.component';
import { provideRxStateConfig } from '@rx-angular/state';

bootstrapApplication(AppComponent, {
  providers: [
    provideRxStateConfig(
    /* define features here */
    ),
  ],
});
By default, RxStatequeueSchedulerwithScheduler()withSyncScheduler()
The queueScheduler provides a certain level of integrity, as state mutations that cause other state mutations are executed in the right order.
"When used without delay, it schedules given task synchronously - executes it right when it is scheduled. However when called recursively, that is when inside the scheduled task, another task is scheduled with queue scheduler, instead of executing immediately as well, that task will be put on a queue and wait for current one to finish."
"This means that when you execute task with queue scheduler, you are sure it will end before any other task scheduled with that scheduler will start."
_src: queueScheduler on rxjs.dev
In conclusion, it is possible that you can run into the situation where a state mutation isn't synchronous.
See the following very simplified example:
import { rxState } from '@rx-angular/state';

const state = rxState<{ foo: string; bar: string }>();

state.set(() => {
  // will execute after the { bar: 'bar' } was set
  state.set('foo', 'foo');
  console.log(state.get('foo')); // prints undefined

  // will execute first
  return {
    bar: 'bar',
  };
});
In order to escape this behavior, you can define the scheduling to be fully synchronous:
// main.ts

import { bootstrapApplication } from '@angular/platform-browser';
import { AppComponent } from './app.component';
import { provideRxStateConfig, withSyncScheduler } from '@rx-angular/state';

bootstrapApplication(AppComponent, {
  providers: [provideRxStateConfig(withSyncScheduler())],
});
It is however also possible to define whatever SchedulerLike you want, e.g. make your state asynchronous by using the asapScheduler.
// main.ts
import { bootstrapApplication } from '@angular/platform-browser';
import { asapScheduler } from 'rxjs';
import { AppComponent } from './app.component';
import { provideRxStateConfig, withScheduler } from '@rx-angular/state';

bootstrapApplication(AppComponent, {
  providers: [
    provideRxStateConfig(
      /* use the asapScheduler to new states -> makes the state async! */
      withScheduler(asapScheduler),
    ),
  ],
});
The accumulator defines how state transitions from change to change and how slices are integrated into the state.
By default, RxStateAccumulatorFn
The AccumulationFnreducers
// default-accumulator.ts
import { AccumulationFn } from '@rx-angular/state/selections';
const defaultAccumulator: AccumulationFn =
You can now use the withAccumulatorAccumulatorFn
// main.ts
import { bootstrapApplication } from '@angular/platform-browser';
import { AppComponent } from './app.component';
import { provideRxStateConfig, withAccumulator } from '@rx-angular/state';

import { produce } from 'immer';

const immerAccumulator = (state, slice) =>
  produce(state, (draft) => {
    Object.keys(slice).forEach((k) => {
      draft[k] = slice[k];
    });
  });

bootstrapApplication(AppComponent, {
  providers: [
    provideRxStateConfig(
      withAccumulator(immerAccumulator),
    ),
  ],
});
This was a community contribution, special thanks to Adrian Romanski for implementing this feature.
If you only want to expose your RxStateasReadOnly()
import { inject, Injectable } from '@angular/core';
import { rxState } from '@rx-angular/state';

@Injectable({ providedIn: 'root' })
export class MovieService {
  private resource = inject(MovieResource);

  private readonly _state = rxState<{ movies: Movie[] }>(({ set, connect }) => {
    // set initial state
    set({ movies: [] });
    // connect global state to your local state
    connect('movies', this.resource.fetchMovies());
  });

  // consumers can use `get`, `select`, `signal` and `computed`
  readonly state = this._state.asReadOnly();
}
Thanks for reading this long post and we hope these new features will be useful for you and your team.
If you haven't yet, go and leave a ⭐ for us on github!

Intermediate workshop
Master Nx to enforce architecture, speed up your development workflow and improve code quality
Learn more
PushBased's 2024 recap: 43 talks, NgGlühwein conference, RxAngular updates, and more. A year of growth, innovation, and community! Read our journey. 🚀


Currently, there are two ways of configuring zone.js. In the previous article, we’ve discussed how to disable Zone completely over BootstrapOptions. Zone Flags is the other equally viable alternative to consider when deciding to configure zone.js.

In this article we're taking a deep dive into optimizing Interaction to Next Paint (INP) with scheduling APIs. We will examine native solutions with their pros & cons and RxAngular's approach to performance optimizations.


With so many moving parts involved in making Zone Flags work the way you need them to, troubleshooting is not easy. This article explains what problems to expect and which debugging strategies you should implement working with zone-flags.
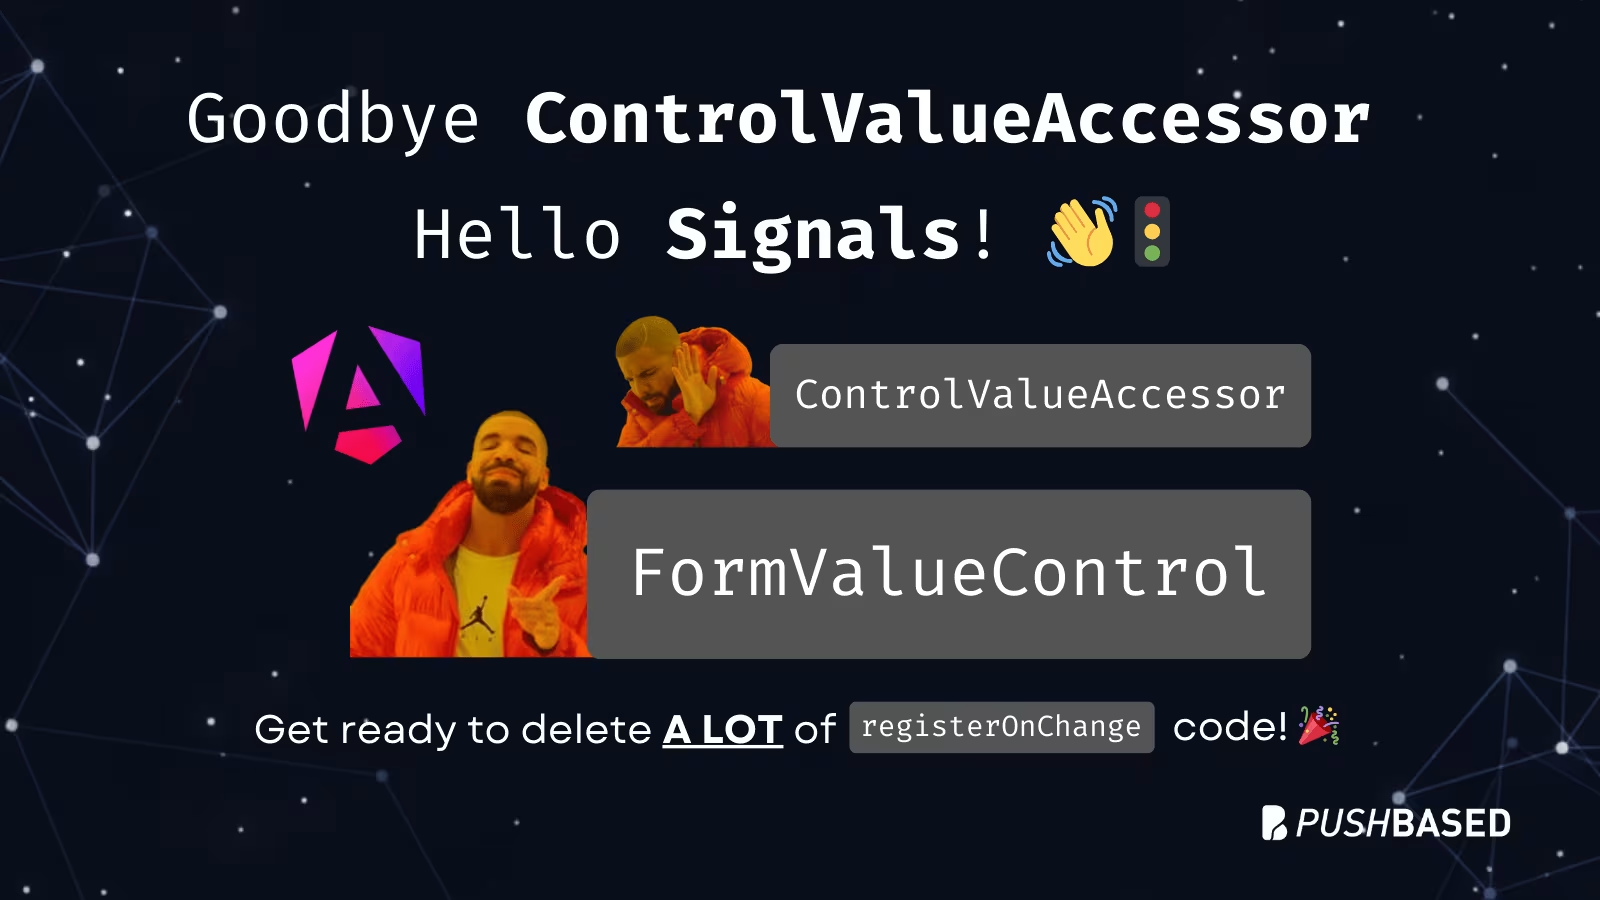
Angular is bridging the gap between the new Signal-Forms architecture and the Template/Reactive Forms. This isn't just a minor update—it’s a fundamental shift in how we author custom form controls.


Accessibility doesn’t have to be hard. Follow a comic-style, hands-on journey building an accessible day selector with Angular Aria, learning comboboxes, listboxes, and real screen reader behavior along the way.
