🚀 We’re hiring – explore our open roles
Your Trusted Source for Nx and Angular Expertise
Build performing and maintainable applications with top-tier consulting, thorough reviews, and specialized workshops from a global hands-on agency.
Our domains of expertise

Scalability
We future-proof your code to ensure smooth operations, no matter how much your business scales.
Maintainability
Good code is easy to read; great code is easy to maintain. We optimize your codebase for clarity, efficiency, and adaptability.
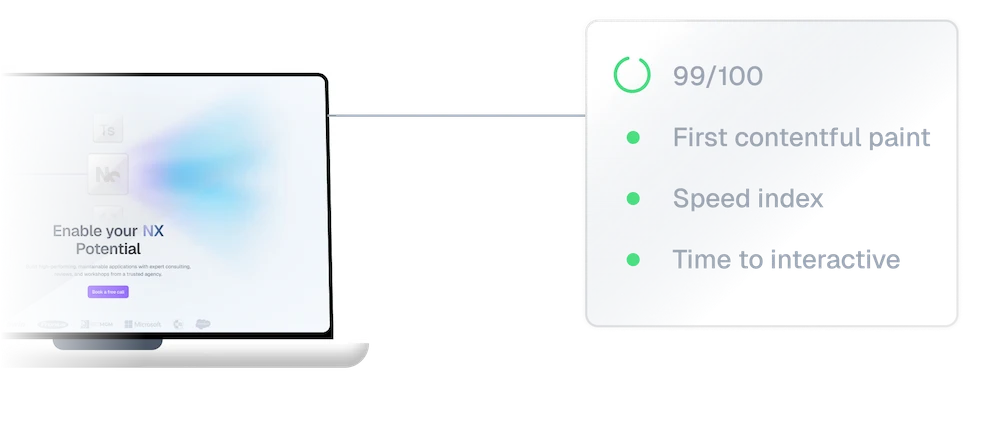
Web performance
Slow websites cost more than time—they cost users. PushBased.io specializes in identifying bottlenecks in your codebase and fix it.

Accessibility
We work with you to identify barriers, implement best practices, and create web solutions that embrace users of all abilities, making your website truly universal.
A service adapted to your needs
From individuals to large teams, we are able to help you thanks to a large set of solutions. We got you covered!


The Philosophy of PushBased
Our mission is simple: to empower your teams to develop high-performing applications with expert guidance, rigorous audits, and hands-on workshops.
As an agency built by seasoned developers and technical consultants, we understand the unique challenges that come with building complex applications across diverse web frameworks.
We know what it’s like to dig into a codebase, identify bottlenecks, and develop solutions that make a real difference for end-users
Companies go further with PushBased

Microsoft booked PushBased for an inhouse workshop and it was a full success. The session was just excellent with deep dives into different important areas. Our training was very interesting all our questions were answered in high detail. Trainings from PushBased are not only on a highly technical level but also are very engaging and fun. We now run multiple workshops with PushBased at Microsoft and can only recommend them.

Andriy Malish Frontend Software Engineer 
The PushBased team is phenomenal all around and was absolutely critical in implementing new practices and technologies into the ClickUp platform to ensure lightning fast speed on the frontend.
Their team solved complex engineering challenges and enabled us to continue delivering a world-class product. We could not have solved our speed issues without Michael and his team!

Zeb Evans Founder & CEO 
Our cooperation with PushBased started with a performance audit to understand our current state and opportunities to improve our applications’ speed. The audit was comprehensive and gave us the confidence to partner long-term, and in various areas. They not only supported us with performance optimisations but also went further and improved our underlying Angular architecture, helping improve our overall Developer Experience. Key to this was the transition to Nx and Monorepo. I consider PushBased an essential partner and they continue to make significant contributions to our success.

Stephen Jayna VP of Engineering 
Initially, we booked the PushBased team for an architecture audit. The audit report gave us great insights on improvement potential and a well structured roadmap. That's why we decided to hire their team to implement their suggestions on the spot. The team did an awesome job and provided us with laser focused pull requests and comprehensive documentation to share their knowledge. PushBased's experts are top level engineers that we can highly recommend.

Daniel Boos Lead Software Architect
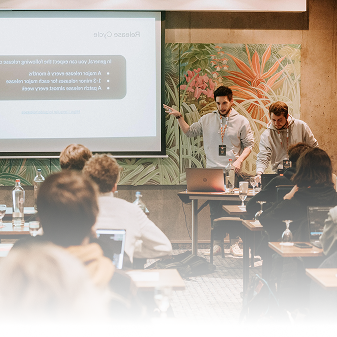
See us live 
At PushBased we do a lot of conferences in the world, let’s discuss in real life!
