Welcome back to our design token series! In our previous entries, we’ve explored the concept of extracting design tokens from Figma. Today, we talk about applying the design tokens by creating Angular components.

Applying Design Tokens
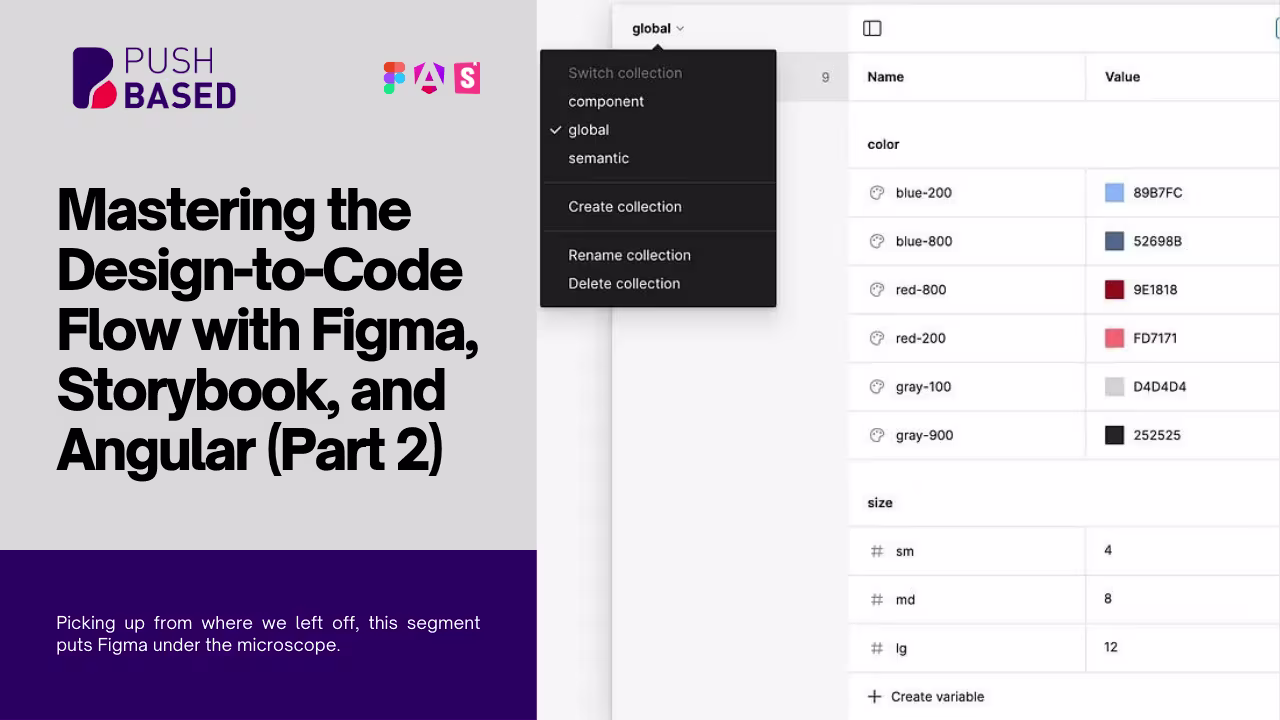
In the last blog post, we ended with SCSS files containing variables. To apply this variables, we map this variables to the SCSS files of the created components. Having a nicely structured SCSS allows to switch between styles/variants without requiring any adaption of the component.
This means, with a smart conversion we retrieve a SCSS file as follows
// generated/button.scss
:host(.primary) {
  --button-color: var(--color-primary);
}

:host(.secondary) {
  --button-color: var(--color-secondary);
}

:host(.small) {
  --button-height: 16px;
}

:host(.large) {
  --button-height: 32px;
}
and can apply this SCSS inside the Angular component as follows
// button.component.scss
:host {
  color: var(--button-color);
  height: var(--button-height);
}
allowing to assign a host class in the component based on the provided input:
// button.component.ts
@Component({
  ...
  host: {
    '[class]': `hostClass`,
  }
}) {

  @Input() size: 'small' | 'large' = 'large';

  @Input() variant: 'primary' | 'secondary' = 'primary';

  get hostClass() {
    return `${this.size} ${this.variant}`;
  }
}
Performance considerations are crucial when developing components for modern web applications. Understanding and optimizing the amount of Document Object Model (DOM) elements and the usage of CSS selectors can significantly impact the performance and user experience of your application.
Amount of DOM
The DOM represents the page structure, and each element is a node in this tree-like structure. A large DOM can slow down your application because more nodes mean more work for the browser to layout, render, and repaint as users interact with the page. Here are some strategies to consider:
Simplify Your Structure: Use fewer, more semantic HTML elements. Aim for a cleaner, more efficient structure that accomplishes the same result.
Remove Non-Essential Elements: Analyze your DOM and remove any elements that don’t contribute to the user experience or could be replaced with more efficient CSS.
Virtualize Long Lists: If you have long lists or tables, consider using a virtualization library to only render items in view. For example, I can highly recommend Virtual Scrolling from RxAngular.
Usage of CSS Selectors
CSS selectors are a powerful way to apply styles to your elements, but they can also become a performance bottleneck if not used wisely. Complex selectors force the browser to do more work to determine which elements should receive the styles. We highly recommend to study the presentation by Nolan Lawson which covers many important aspects of CSS performance. In the following I provide a list of what I usually try to follow:
Avoid Universal Selectors: Universal selectors (*) are often overkill and can lead to performance issues, especially in complex documents. They force the browser to consider every element as a potential match.
Minimize Depth: Deeply nested selectors can be inefficient. Each additional level adds to the time it takes for the browser to evaluate and apply styles. Aim for shallow, concise selectors.
Rightmost Selector: The rightmost selector, also known as the “key selector,” is the most critical part of your query. Browsers filter the DOM based on this, so ensuring it’s as specific as possible can greatly reduce the initial filtering scope.
Avoid Attribute Value Selectors and Certain Pseudo-Classes: Attribute selectors (e.g., [type="text"]) and pseudo-classes like :nth-child or :not can be less efficient because they often lack specific browser optimizations. These selectors require the browser to perform more complex calculations, leading to potential performance bottlenecks, especially in large documents or dynamic applications. Instead, use class selectors or IDs whenever possible to provide direct and fast access to elements.
Leverage Shadow DOM for Style Encapsulation and Optimization: Utilizing Shadow DOM in web components can greatly enhance performance and maintainability. Shadow DOM allows for style encapsulation, meaning styles defined inside a shadow tree won’t affect the main document and vice versa. This scoping reduces the complexity of style calculations and re-calculations when elements update.
Implement CSS Containment: Use the contain property in CSS to indicate that an element's content is independent from the rest of the document. This allows the browser to optimize rendering by not considering changes within the contained element when calculating layout, style, paint, or size for the rest of the document.
Utilize Content Visibility for Further Optimization: Alongside CSS containment, consider using the content-visibility property. This property enables the browser to skip the rendering work for off-screen content until it's needed. This can significantly reduce the initial load time and resource usage on long web pages.
Extendable Components
Angular’s powerful framework provides an array of tools and features enabling developers to build scalable, reusable, and maintainable components. Understanding how to leverage these features is key to creating extendable components that can adapt to various contexts and requirements. This section delves into several Angular concepts, including ng-content, ng-template, ng-container, and more, to guide you through the process of creating versatile Angular components.
ng-content
At the heart of creating extendable components is ng-content, Angular's content projection directive. It allows you to create components that can accept any HTML or Angular component, making your components highly reusable. The select attribute of ng-content lets you specify which parts of the HTML content should be inserted into which part of the component's template, providing a fine-tuned projection mechanism.
  Title
  Content here
ContentChild and ViewChild
@ContentChild and @ViewChild are decorators that give you access to elements within your component's view. Use @ContentChild to access content projected from a parent component into the child via ng-content. @ViewChild allows you to access elements directly in the component's template, useful for manipulating or interacting with the component.
@ContentChild('ref') elementRef: ElementRef;
@ViewChild('ref') elementRef: ElementRef;
ng-template and ngTemplateOutlet
ng-template is a powerful feature for defining a chunk of HTML that isn't rendered initially but can be instantiated and rendered dynamically based on your application's logic. ngTemplateOutlet allows you to embed an ng-template into your view dynamically, providing a powerful way to reuse template content.
Dynamic content here
ng-container
ng-container is a logical container that can group nodes but doesn't interfere with styles or layout because it's not rendered in the DOM.
Content to render conditionally
ViewContainerRef, TemplateRef and ElementRef
In Angular, creating dynamic and responsive components often requires direct interaction with the component’s template and the DOM. ViewContainerRef, TemplateRef, and ElementRef are Angular's tools that give you the power to manipulate templates and elements directly. Understanding how to use these tools together effectively can significantly enhance your component's flexibility and functionality.
ViewContainerRef is a reference to a container that can hold one or more views. You can use it to dynamically create and insert components or templates into your component. TemplateRef represents an embedded template that can be used to instantiate embedded views. You can define this template within your Angular component and then useViewContainerRef to instantiate and insert this template into the DOM. ElementRef provides direct access to the DOM element associated with a host view. It's useful for direct DOM manipulations, though it should be used with caution due to potential security risks.
Retrieving your right Ref: In Angular, when you’re querying for elements or directives using ViewChild or ContentChild, you can configure the query timing and the type of element to read.
static: true: Setting static: true ensures the element is available in ngOnInit. It's suitable for elements that are present in the template and don't rely on binding resolution or external conditions.
read: The read option allows you to specify what to return from the queried element. For instance, you can read ElementRef, ViewContainerRef, or any directive instance from the queried element.
Example: Let’s see how you might use ViewContainerRef and TemplateRef together to dynamically insert content into your template.
Define your TemplateRef in the template:
This is dynamic content
2. Access and manipulate the template in your component:
@Component({..., template: ``})
export class MyComponent {
  @ViewChild('dynamicTemplate', { static: true, read: TemplateRef }) myTemplate: TemplateRef;
  @ViewChild('target', { read: ViewContainerRef }) target: ViewContainerRef;

  constructor() {}

  ngOnInit() {
    // Now you can create a view from the template and insert it into the container
    this.target.createEmbeddedView(this.myTemplate);
  }
}
In this example, we’re defining a template in the HTML with ng-template and marking it with a template reference variable. In the component, we're using ViewChild to get references to the template (TemplateRef) and the container (ViewContainerRef). Finally, we're using the createEmbeddedView method of ViewContainerRef to instantiate the template and insert it into the DOM.
Type Checking
Type checking is an essential aspect of building robust Angular applications, ensuring that your components and templates interact as expected. When you’re working with ng-template, the context type can become any, which means you lose the benefits of TypeScript's type checking. However, Angular provides a way to preserve type information using ngTemplateContextGuard. Here's how you can implement it and ensure type safety within your templates.
// 1. First, define the type of the context you expect to pass to your ng-template.
interface ExampleContext {
  property: string;
  anotherProperty: number;
}

// 2. Create a directive that you'll apply to your ng-template. Within this directive, implement the ngTemplateContextGuard.
@Directive({
  selector: '[appExampleDirective]'
})
export class ExampleDirective {
  static ngTemplateContextGuard(dir: ExampleDirective, ctx: unknown): ctx is ExampleContext {
    // You can include additional type checking logic here if needed
    return true;
  }
}

// 3. Use the directive with your ng-template. This allows Angular to infer the correct type for the context when it's used within the template.
Conclusion
In this deep dive into Angular’s powerful features for creating extendable components, we’ve explored a range of tools and concepts that are essential for any advanced Angular developer.
Understanding how to create extendable components is just one part of the equation. The next step in ensuring the quality and reliability of your Angular applications is effective testing. In the next part of the series, we’ll delve into testing Angular components (with Storybook).