
Intermediate workshop
NestJS Workshop: Building for Production
Mastering NestJS: From Basics to Advanced Application Design
Learn more
In this final installment of our series, we transition from a development environment to a production-ready setup by deploying our NestJS application integrated with self-hosted Ory services to the Ory Network. This process showcases the interoperability of Ory Network with our existing self-hosted setup and highlights how Ory Network can simplify deployment processes and reduce operational overhead.
Deploying to Ory Network involves several critical steps to ensure your deployment process is secure and scalable. Here’s a high-level overview of the process, depicted as a flowchart:
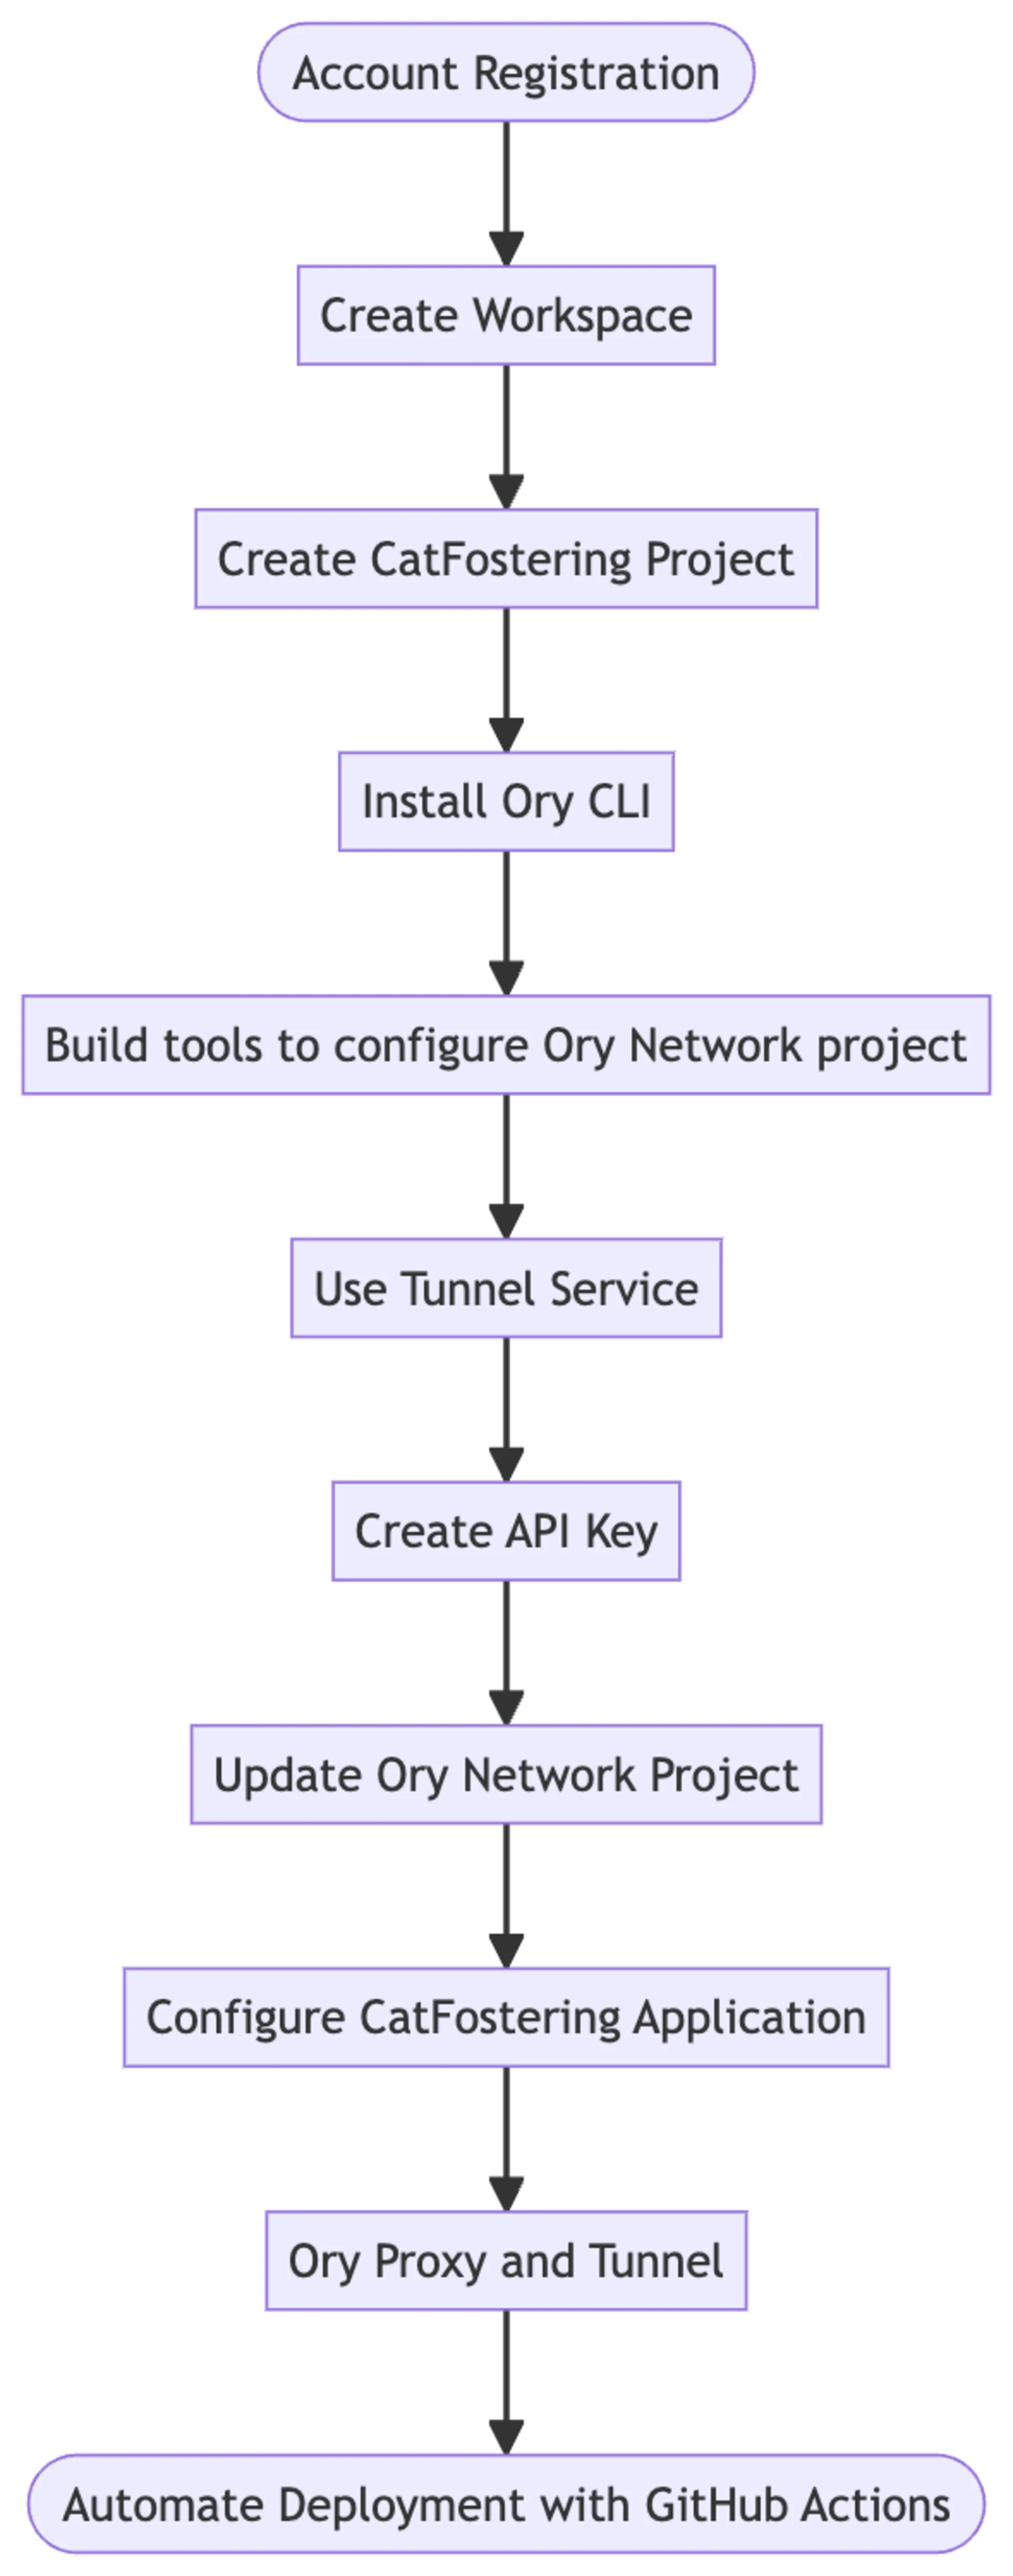
We start by registering an account with Ory Network. This account will manage our projects and workspaces within the Ory Network and add collaborators to our projects.
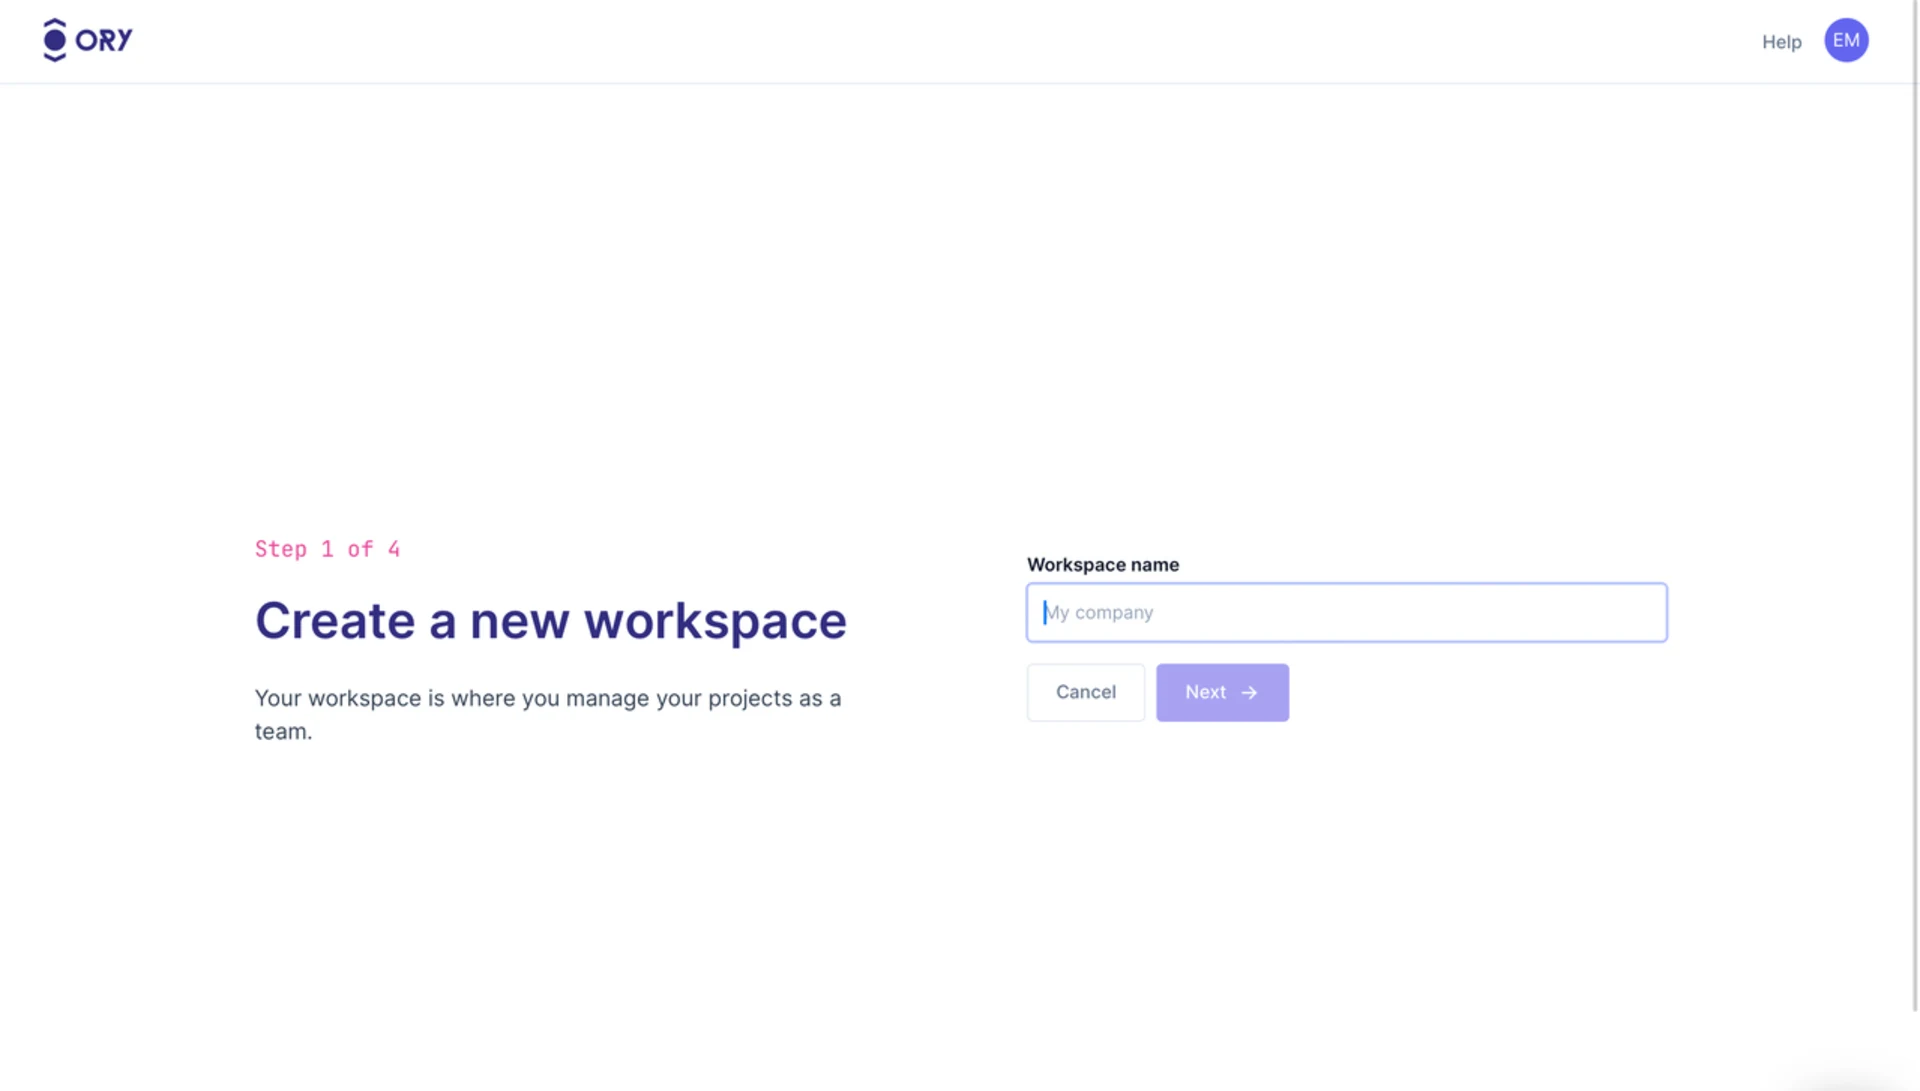
Create a new workspace within the Ory Network. This workspace will help you organize your projects effectively and is the first step towards deploying your application. Ory Network allows you to create multiple workspaces, each serving as an isolated environment for different projects and billing.
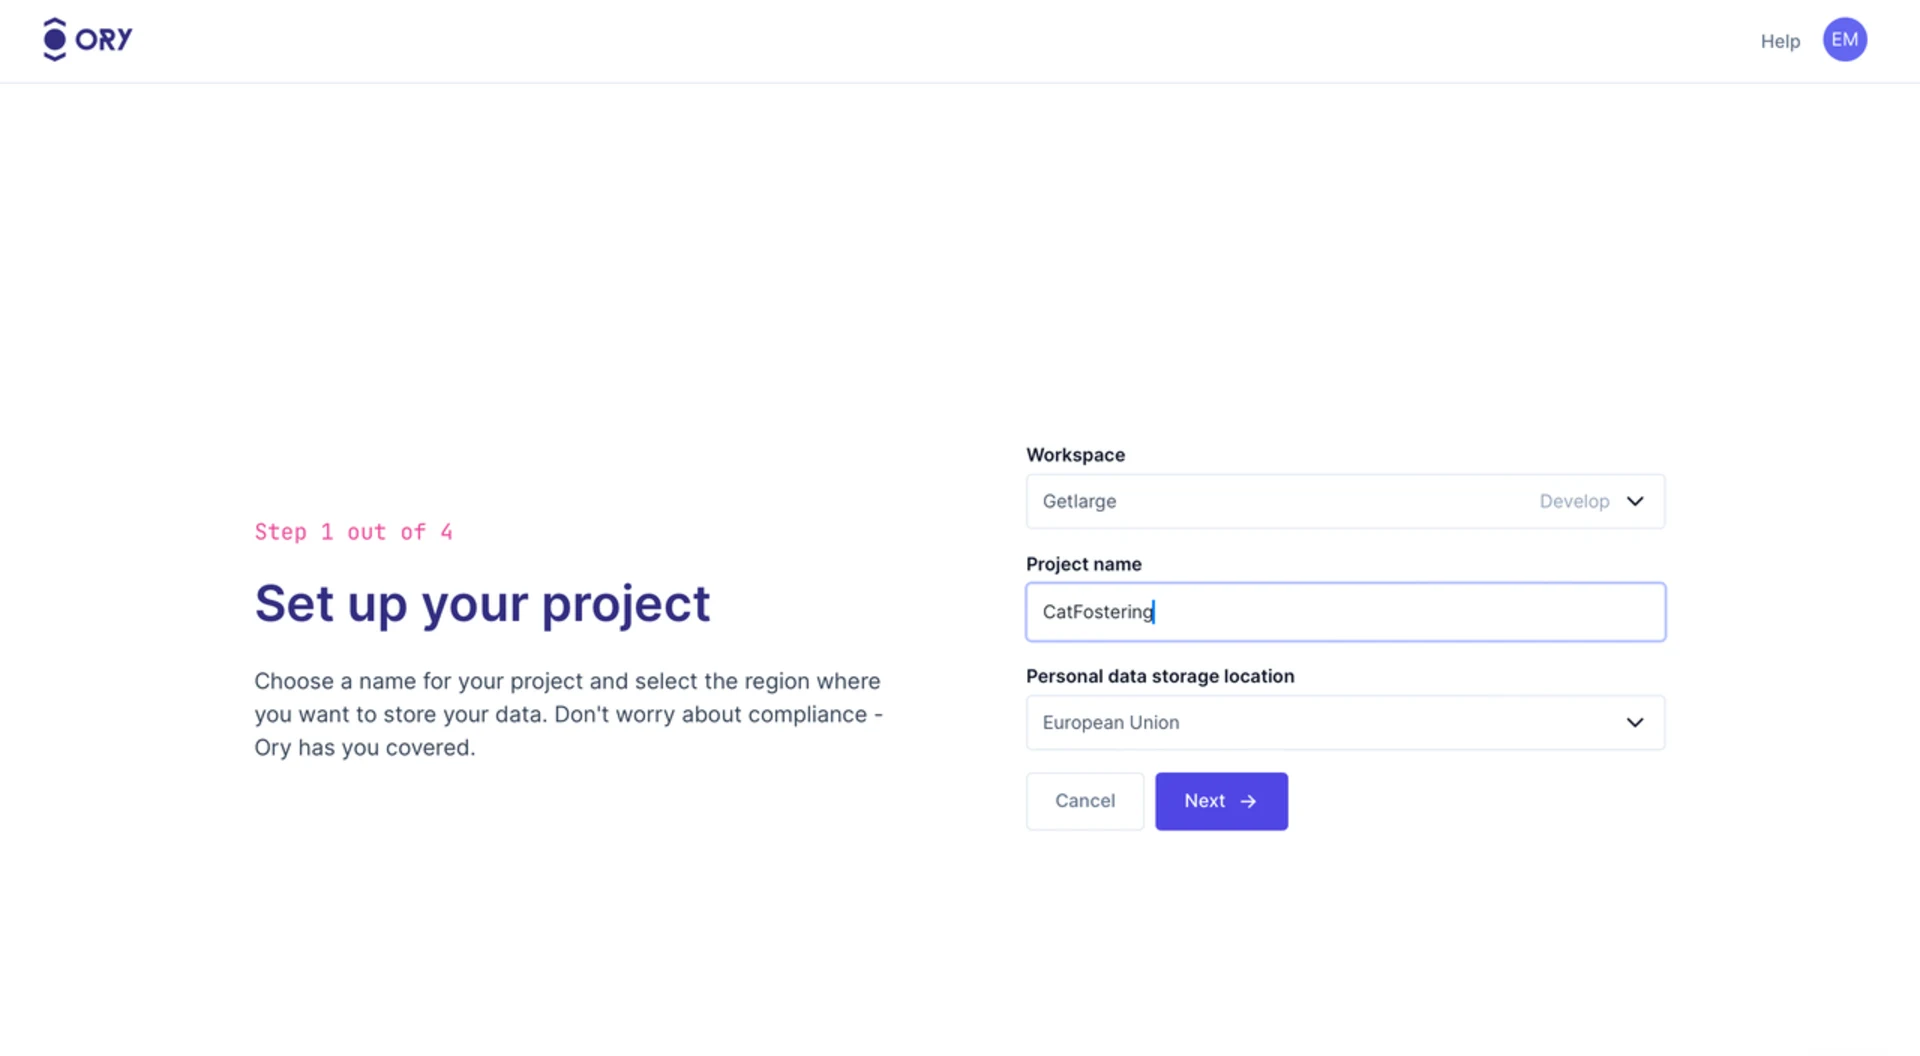
Within your new workspace, register a new project named CatFostering. In practice, ensure your project is scoped appropriately for the environment (development, staging, production).
Install the Ory CLI to interact with the Ory Network from your command line, which is essential for subsequent configuration steps. When you have the CLI installed, you can run the following command and follow the prompts to authenticate:
Before updating the Ory Network project, we need to generate the necessary configuration file from our existing configuration templates for KratosKeto
File references pointing to local files (file://
URLs pointing to local services (127.0.0.1, localhost, 192.168.x.y) will result in a schema validation error. They must resolve to a public address.
The following configuration keys:
dsn
log
server
secrets
session.cookie.domain
session.cookie.name
session.cookie.path
cookies.path
cookies.domain
The Ory Network configuration file should be in JSON or YAML format and follow the schema defined by Ory Network:
Note: Under
and identity, the permissionobject should contain the configuration for configand Kratos, respectively. Keto
We will create a function - generateOryNetworkConfig
Our NestJS application receives webhooks from Ory Hydra, which is running locally. With Ory Network running on the cloud, the application must be accessible via a public URL. To expose your local development environment to the internet, utilize a tunnel service such as Tailscale Funnel, ngrok, webhook.site, or others. This step is crucial for receiving webhooks from Ory Network.
I am a fan of Tailscale products due to their simplicity and ease of use, and Funnel
Note: This command exposes your local application running on port 3000 to the internet under the FQDN generated by Tailscale Magic DNS with the path
(e.g., /cat-fostering). https://<machine_name>.<domain_name>.ts.net/cat-fostering
To generate the Ory configuration, we first need to store the variables to substitute in the .env.development
The Ory Network console under the Project Settingshttps://console.ory.sh/projects/<project-id>/settings
The tunnel service for the public URL
The encoded files to inline in the configuration
The following variables are required:
Tip: To encode a file to base64, you can use the following command:
And copy the output to the configuration file, prepending
. (e.g. base64://) base64://<base64_encoded_content>
The Ory CLI contains a command to update the project configuration with the generated configuration file. To simplify its usage, we will create a helper function - updateOryNetworkConfig
Note: The
function will be imported and used in updateOryNetworkConfig, which will be referenced in the generate-config.tsscripts. package.json
Run the following command to generate the Ory configuration and update the project configuration on the Ory Network:
The CLI output should indicate the successful update; we can check the Ory Console for the updated configuration.
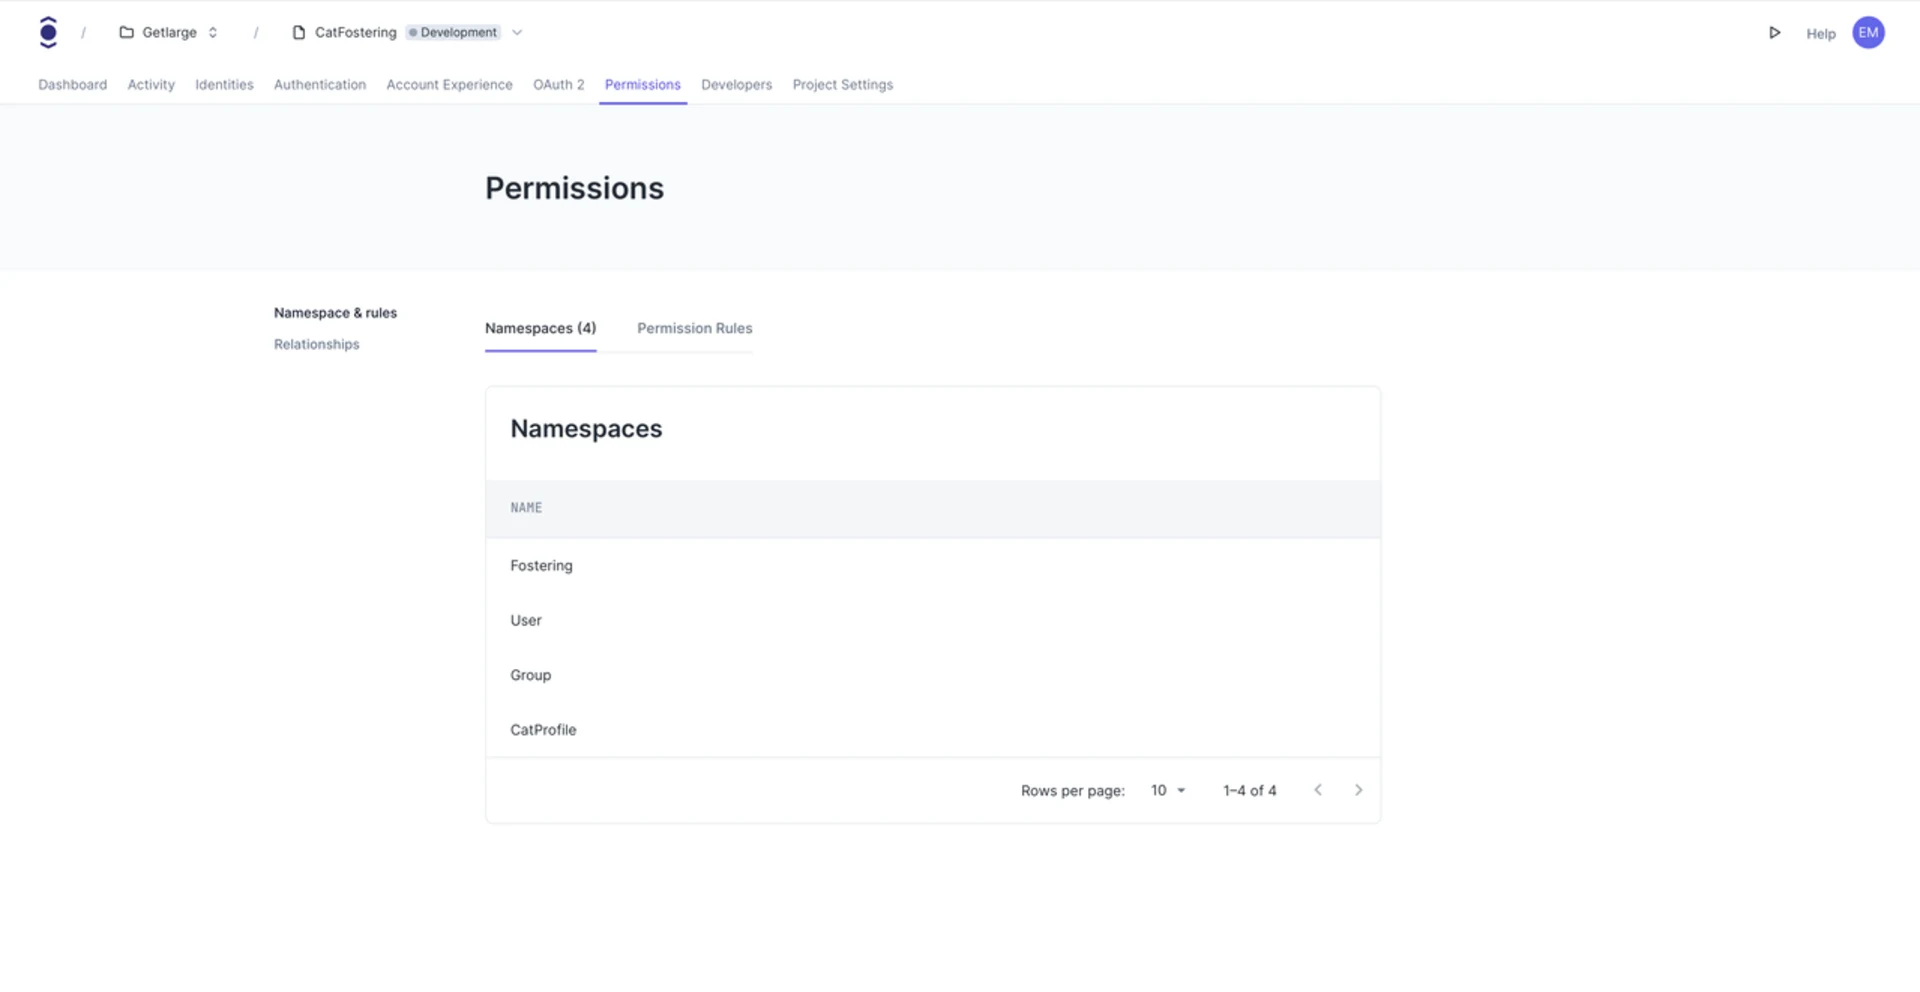
Note: Above is an example of the permissions configuration in the Ory Console. The configuration should reflect the settings in the encoded value of infra/ory-keto/namespaces.ts.
This tool can also be a great addition to a CI/CD pipeline by automating the configuration update process for multiple Ory Network tenants. Here is a simplified example using GitHub Actions to trigger the deployment process:
Generate an API key within the Ory Network console under the developershttps://console.ory.sh/projects/<project-id>/developers
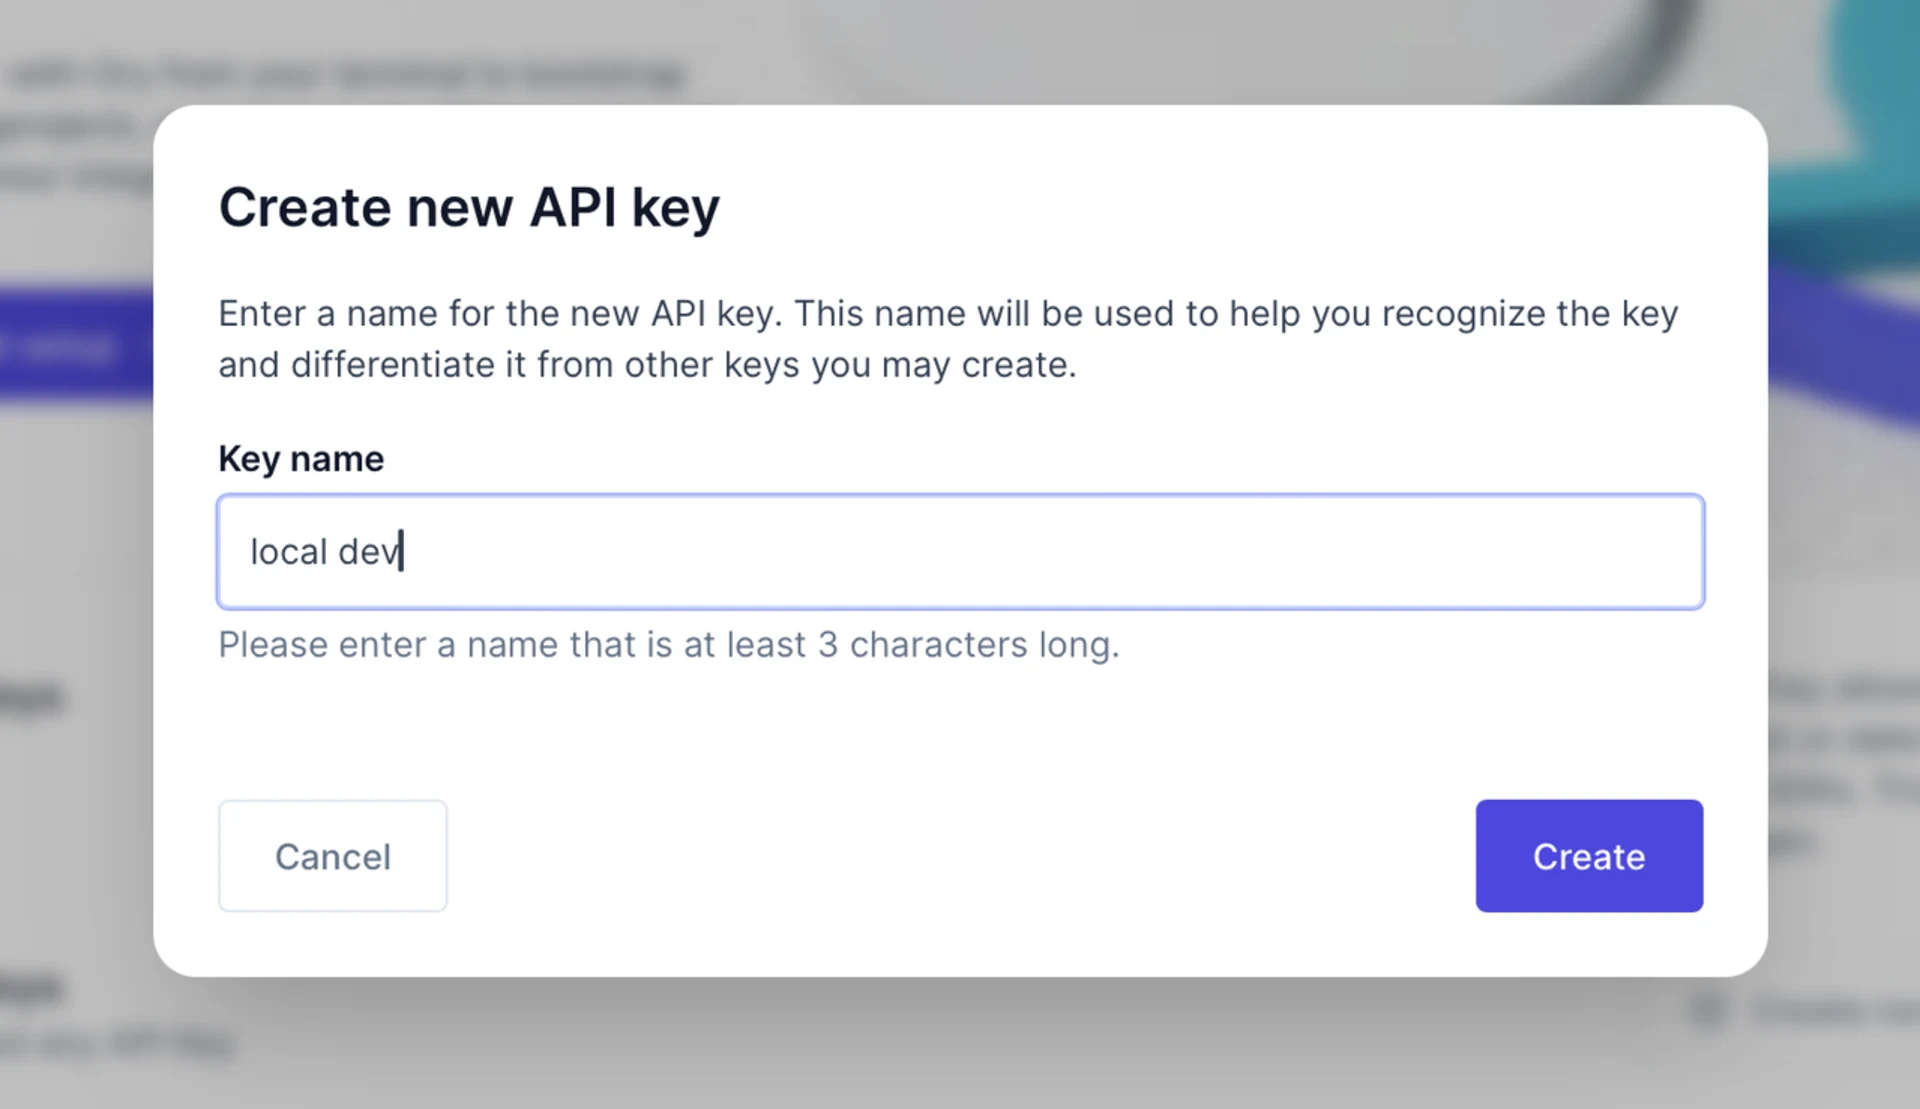
Update your application's configuration to use the API keys and endpoints provided by Ory Network, ensuring all interactions are routed correctly.
You can now start your application and test the integration with Ory Network.
We won't need them for our case since the CatFostering
In this article, we explored the deployment process to Ory Network to transition our NestJS application from a development environment to a production-ready setup. Following the detailed steps outlined above, you can move your local Ory setup to the cloud in no time. The interoperability of Ory Network with our existing self-hosted setup and its ease of deployment make it a compelling choice for developers looking to streamline their deployment processes and reduce operational overhead.
To go further, you can explore additional features of Ory Network, such as CORS configuration and custom domains, to enhance your application's security and user experience.
To complete your knowledge on this topic, I suggest reading the following article written by the Ory team: Ory Network or self-hosted?
I hope this series has provided valuable insights to secure your NestJS applications with Ory and streamline your development workflows.

Intermediate workshop
Mastering NestJS: From Basics to Advanced Application Design
Learn more
Dive into integrating Ory within a NestJS framework, covering architecture design to practical deployment with the CatFoster example, enhancing security and functionality
Explore how to enhance your NestJS projects with custom libraries for Ory API integration, ensuring robust and secure authentication.
Learn to integrate Ory into your NestJS projects for enhanced authentication. This guide covers everything from initial setup to practical implementation and compliance with global standards.
Explore the integration of Ory into NestJS for secure authentication. This guide covers creating libraries, practical implementation, and deployment to optimize app security and user management. Learn how to enhance your web applications efficiently

Accessibility doesn’t have to be hard. Follow a comic-style, hands-on journey building an accessible day selector with Angular Aria, learning comboboxes, listboxes, and real screen reader behavior along the way.

If Signals were Angular’s “aha!” moment, Zoneless is the “oh wow—this feels snappy” moment. With Angular v21, new apps use zoneless change detection by default. No more zone.js magic under the hood—just explicit, predictable reactivity powered by Signals.